
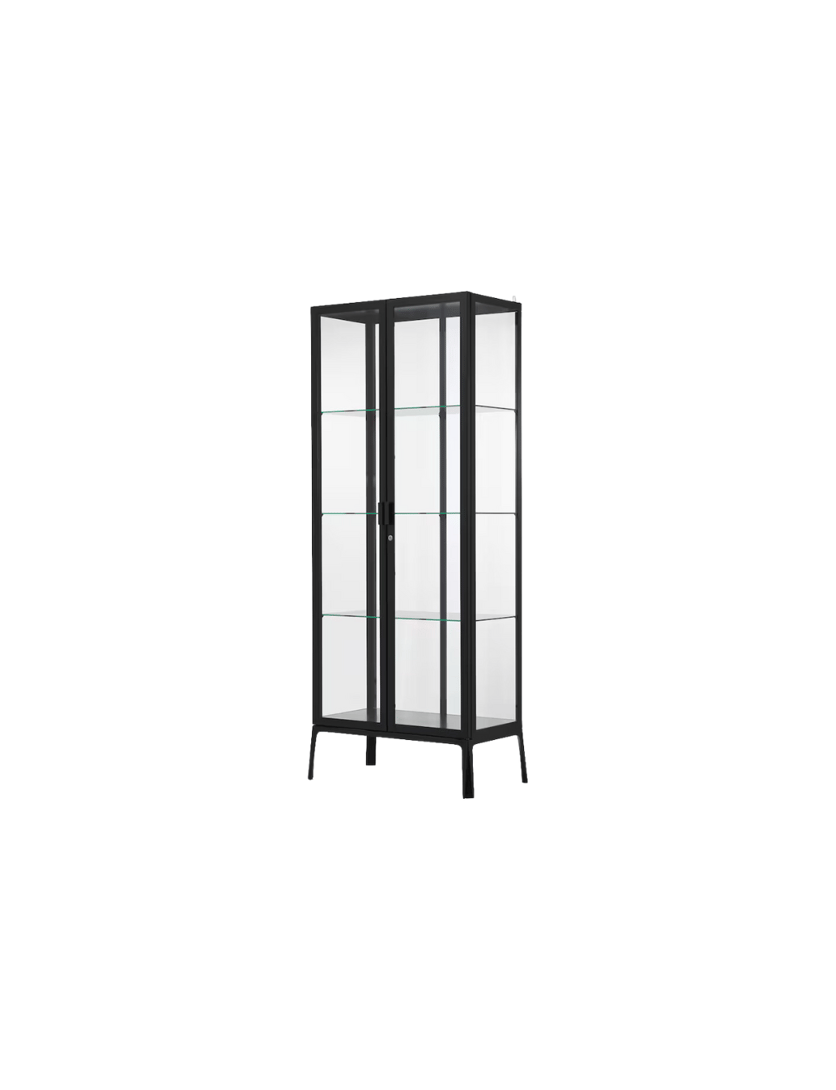
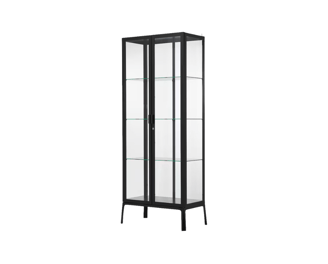
IKEA MILSBO TALL GREENHOUSE
Transforming an IKEA Milsbo Tall cabinet into a stylish indoor greenhouse is a popular and rewarding DIY project among plant enthusiasts. This setup not only provides an optimal environment for your plants but also adds a chic element to your home decor.
Here's a step-by-step guide to help you through the process:
Materials Needed:
IKEA Milsbo Tall Cabinet: Available on IKEA's website in tall and wide versions; choose based on your space and plant collection.
Acrylic Shelves: To replace the glass shelves for better airflow.
Barrina LED Grow Lights: Essential for plant growth, especially in low-light areas.
USB Fans: To ensure proper air circulation and prevent mold.
Hygrometer: To monitor humidity levels inside the cabinet.
Humidifier: To maintain humidity levels inside the cabinet.
Kasa Smart Plug: For automating lights and fans.
Weather Stripping Option 1: Leaves no gaps for moisture to escape. This option is slightly larger than the gaps and the cabinet latches will need to be used to shut the door completely.
Weather Stripping Option 2: To seal gaps and maintain humidity levels around the top and sides of the cabinet -most aesthetic, but might leave a small gap.
Front Door of Cabinet Strip: To seal gaps gap between the two cabinet doors.
Acrylic Peg Board: Optional, for hanging plants or tools (available on etsy).
Acrylic Plant Risers: Give those smaller plants a boost to get closer to the light source and they are beautiful! :)
Shelf Brackets: Additional acrylic shelf brackets to add more shelves.
Extension Cord: Used to plug all cabinet accessories in.
Adhesive Cord Clips: To organize unruly cords.
Magnetic Hooks: To adhere accessories to magnetic portion of cabinet.
Magnetic Light Clips for Barrina T5 Lights: Light clips with magnetic hook; If you're looking for additional support for lights.
Drill: To assemble cabinet and drill bottom cord hole.
2" Metal Circular Step Bit: Used as attachment to drill to cut hole into cabinet.
2' Grommet: Primarily aesthetic, but also serves as additional insulation for cabinet.
Clear Velcro Interlocking Fasteners: Alternative method for attaching grow lights securely.
Cord Management: Hides cards - Cabinet Beautification - completely optional :)
Gold Monstera Cabinet Handles: Super cute cabinet handles.
Hygrometer Mount: mount for hygrometer to maximize shelf space.
Step-by-Step Instructions:
Assemble the Milsbo Cabinet:
Follow IKEA's instructions to set up the cabinet frame.
Before installing the back panel, consider drilling a 2-inch hole at the base for cable management. This allows you to discreetly run wires for lights and fans.
***When drilling your hole, be sure to verify you are not going to drill through the support bracket underneath. ***
Prepare and Install Acrylic Shelves:
Use the existing holes and screws to attach your brackets at your desired shelf heights.
Place the acrylic shelves onto the brackets, ensuring they are level and secure.
Install Grow Lights:
Attach LED grow lights above each shelf using strong double-sided mounting tape or magnetic hooks.
Ensure the lights are positioned to provide even coverage for all plants.
Run the power cords through the pre-drilled hole to connect to a power source.
Enhance Air Circulation:
Place USB fans inside the cabinet to promote airflow and prevent mold growth.
Position fans strategically to cover all areas, and secure them using magnetic hooks or double-sided tape.
Seal the Cabinet:
Apply weather stripping along the edges of the doors and at the front of the door to maintain desired humidity levels. Don't worry about weatherstripping around the side of the cabinet. If your front and sides of the door are weather-stripped, you should be able to keep your humidity levels above 60%.
Set Up Monitoring and Automation:
Place a hygrometer inside to keep track of humidity levels.
Use smart plugs to automate the operation of lights and fans, ensuring consistent conditions.
**I also added Govee Thermometer/ Temperature and Humidity sensors on every shelf just to monitor every level of my cabinet. This is optional, but it has helped me keep a close eye on all of my plants as they became acclimated to their new environment.
Optional Customizations:
Add accessories like pegboards or hooks for tools and decorations.
Adding the Hygrometer Mount to increase shelf space.
Adding a Humidifier to increase humidity on the bottom level.
Adding the super cute Montera Cabinet Handles.
Cord management
Additional Tips:
Humidity Control: Depending on your plant species, you may need to add a small humidifier or pebble trays to maintain optimal humidity levels.
Safety Considerations: Ensure all electrical components are suitable for humid environments and handle them with care.
Maintenance: Regularly clean the cabinet and monitor for any signs of mold or pests to keep your plants healthy.
If you aren’t in a hurry, IKEA does provide free spare/replacement parts. The product code for the Cabinet Bracket is 10003221 at https://www.ikea.com/us/en/customer-service/returns-claims/spareparts/.
By following these steps, you'll create a functional and aesthetically pleasing indoor greenhouse that provides a controlled environment for your plants to thrive.
Note: This post may contain affiliate links. OfficialBloomBabe.com earns a small commission on qualifying purchases through these links at no extra cost to you. This helps us continue providing quality content for fellow plant lovers.